CRANKSHAFT REAR OIL SEAL REPLACEMENT
Tools Required
J 41479 Crankshaft Rear Oil Seal Installer. See Special Tools.
Removal Procedure
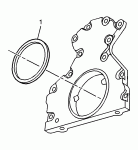
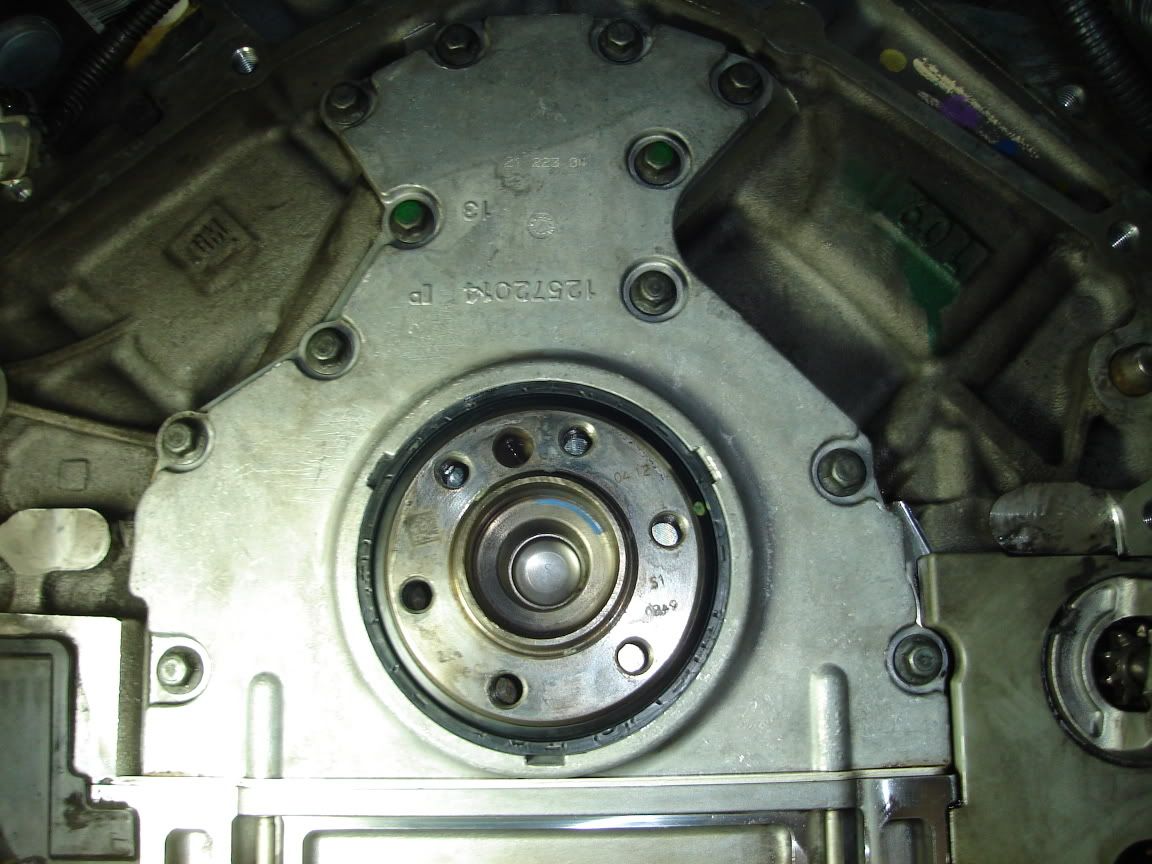
Fig. 125: View Of Crankshaft Rear Oil Seal
Courtesy of GENERAL MOTORS CORP.
1.Remove the engine flywheel. Refer to Engine Flywheel Replacement.
2.Gently pry the crankshaft rear oil seal (1) from the rear cover.
Installation Procedure
IMPORTANT:
Do not lubricate the oil seal inside diameter (ID) of the crankshaft surface.
Do not reuse the crankshaft rear oil seal.
Fig. 126: View Of Crankshaft Rear Oil Seal
Courtesy of GENERAL MOTORS CORP.
1.Lubricate the outside diameter (OD) of the oil seal (1) with clean engine oil.
DO NOT allow oil or other lubricants to contact the seal surface.
2.Lubricate the rear cover oil seal bore with clean engine oil.
DO NOT allow oil or other lubricants to contact the crankshaft surface.
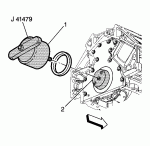
Fig. 127: Installing Crankshaft Rear Oil Seal Using J 41479
Courtesy of GENERAL MOTORS CORP.
3.Install the J 41479 cone (2) and bolts onto the rear of the crankshaft. See Special Tools.
4.Tighten the bolts until snug. Do not overtighten.
5.Install the rear oil seal onto the tapered cone (2) and push the seal to the rear cover bore.
6.Thread the J 41479 threaded rod into the tapered cone until the tool (1) contacts the oil seal.
7.Align the oil seal onto the tool (1).
8.Rotate the handle of the tool (1) clockwise until the seal enters the rear cover and bottoms into the cover bore.
9.Remove the J 41479 .
10.Install the engine flywheel. Refer to Engine Flywheel Replacement.
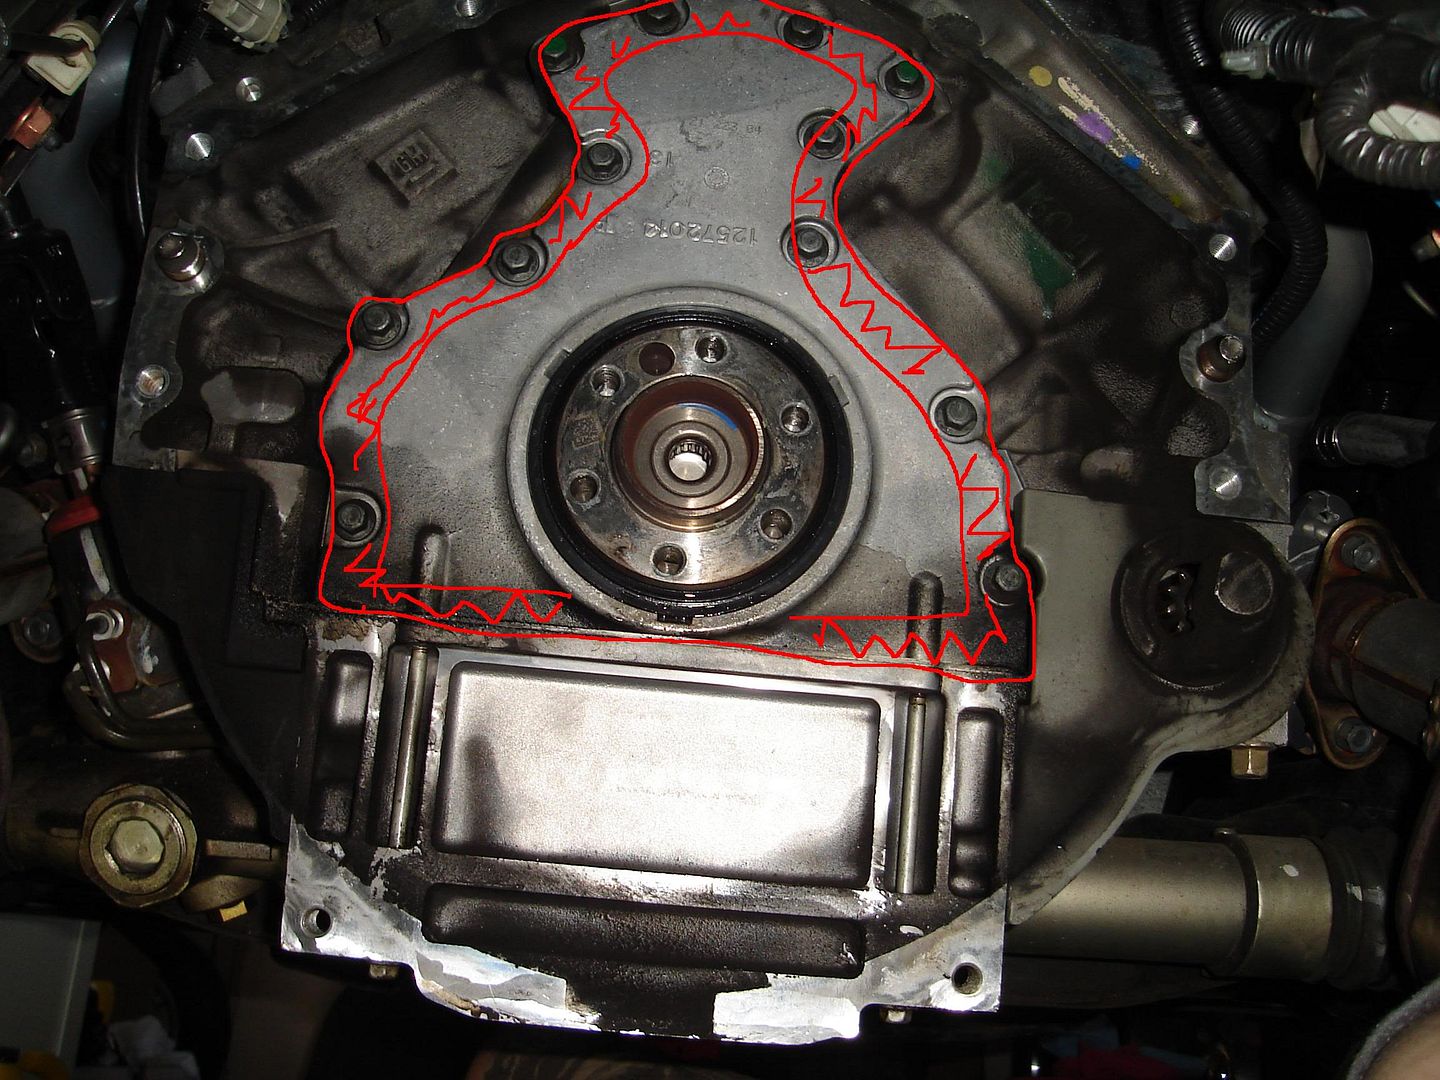
At least that's what the manual says. The large gasket is probably for the rear cover.
Dennis


")


